1. Ruler Tool in Adobe Fresco
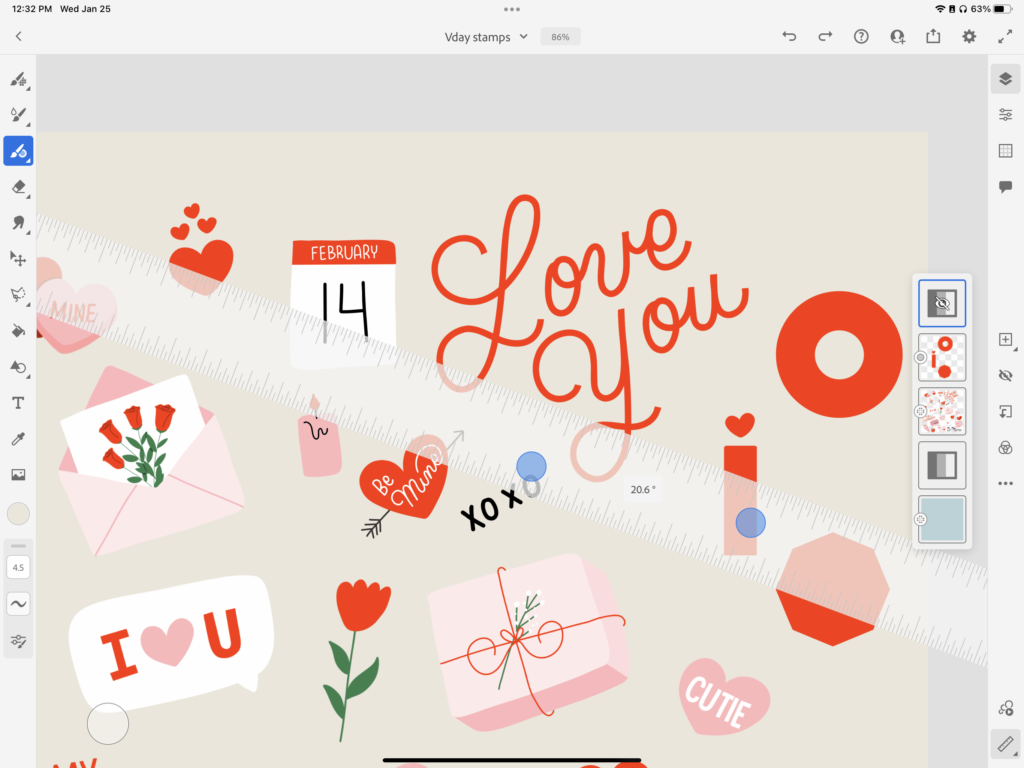
By tapping on the bottom right corner of the Fresco app you’ll see a small ruler icon. When you tap on it a ruler will appear on the screen. You can rotate it and move it around your artboard to create clean straight lines. I love to use the ruler to create clean precise letters and to measure my designs to make sure letters align.
2. Drawing Aid Tool
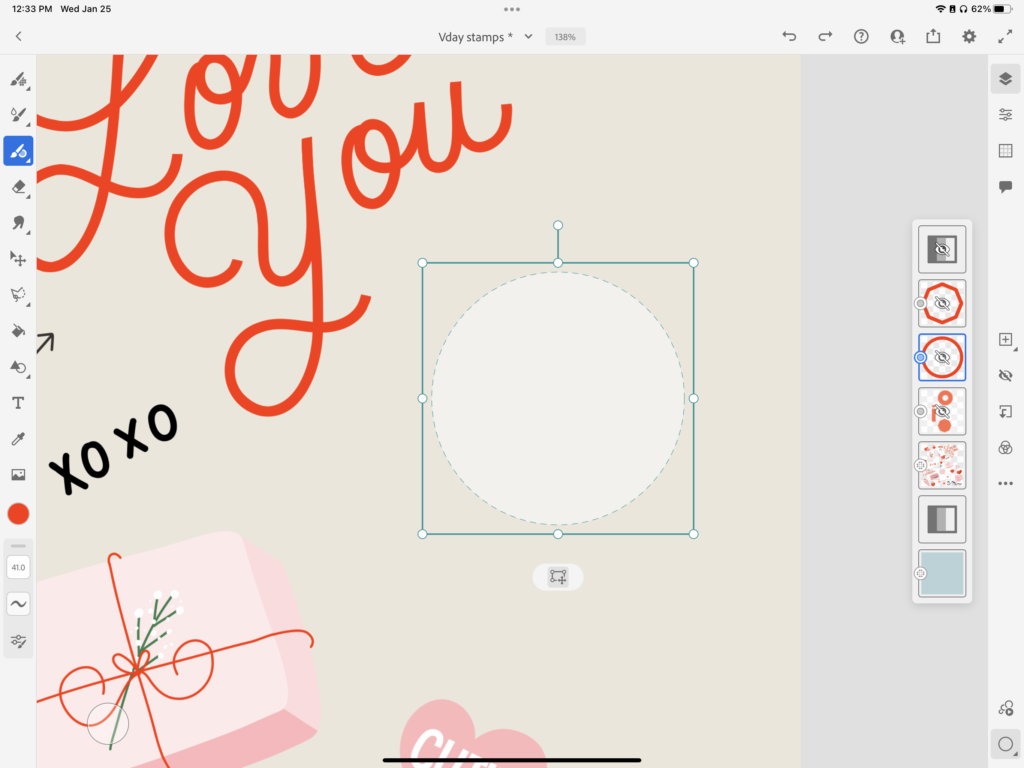
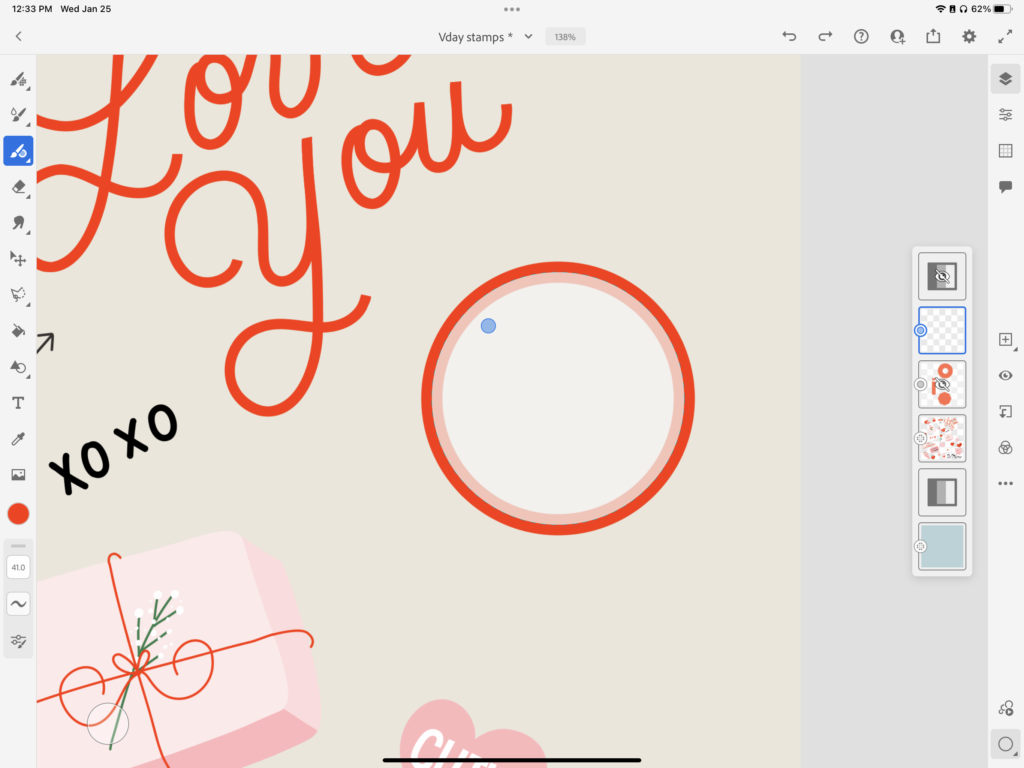
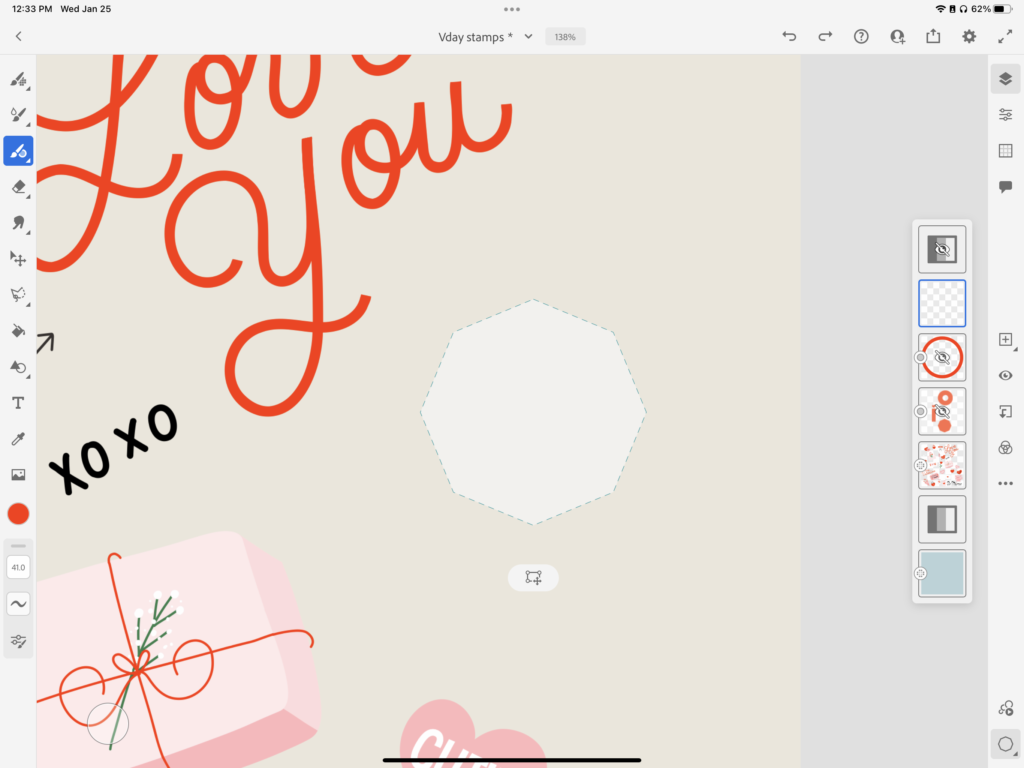
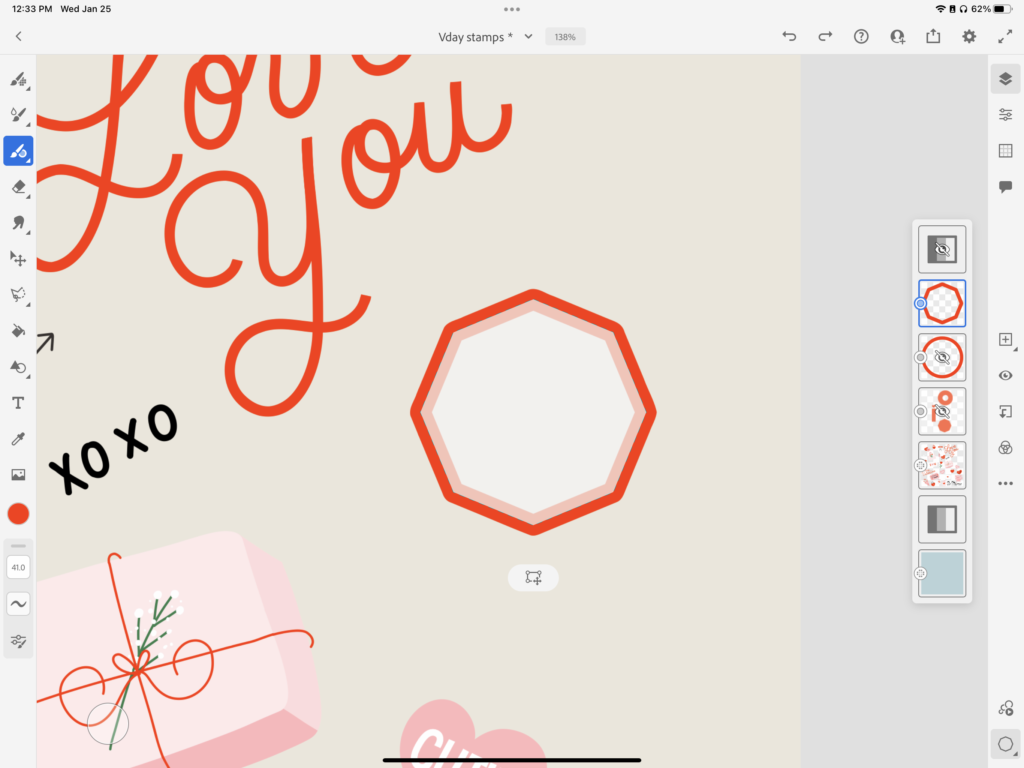
Use drawing aids to trace basic shapes like a circle, square and polygons. Once you train them you can move the tracing guide to create a new shape. You can also adjust the size of your shapes and use the pain bucket to fill the. The polygon tool is extra fun because you can select the amount of sides you’d like for your shape.
Below you see we start with the circle tracing tool:
And then we can start tracing it like below:
We can do the same for a square or polygon like below:
3. Appearance Panel
Easily make color adjustments to your layers. An adjustment layer applies color and tonal adjustments without permanently changing pixel values in your design. You can adjust, change, or remove it all together without impacting your design. I love this tool in Fresco. It’s an easy way to play around with colors for a design. Below you can see before we add an adjustments:
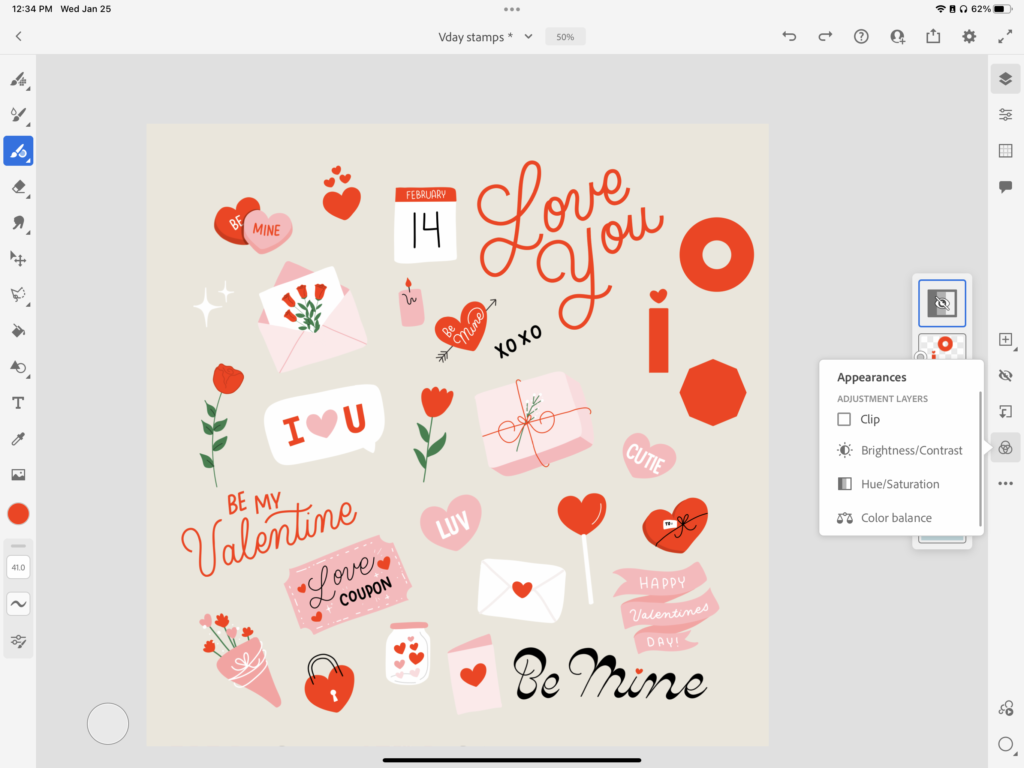
And then when we make some color adjustments with the appearance icon you can see the changes below:
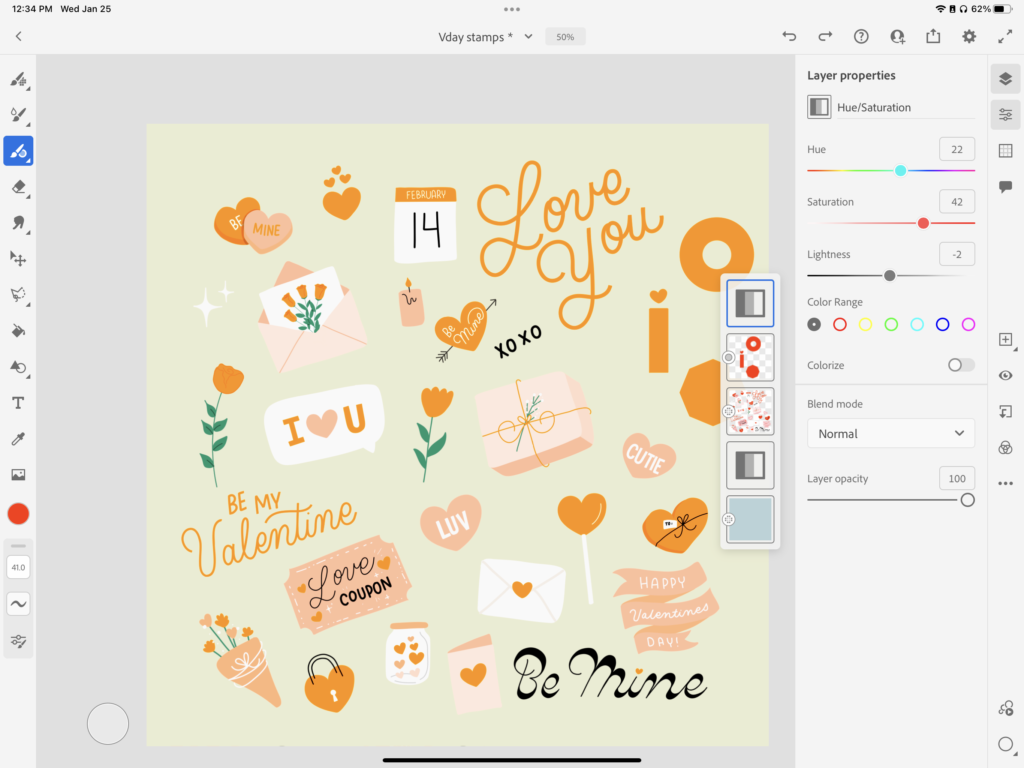
These are my top 3 favorite tools to use in Adobe Fresco! If you’d like to watch the video tutorial on these you can view below:


