


1. Posting without a plan The mistake: You post when you “have time” or feel inspired, but there’s no clear strategy or consistency.The fix: Create a lightweight content plan. Start

Photo via Adobe Stock In today’s competitive digital landscape, creativity alone isn’t enough to guarantee success—effective marketing is essential. Adobe Express is a powerful, user-friendly platform that allows creatives to
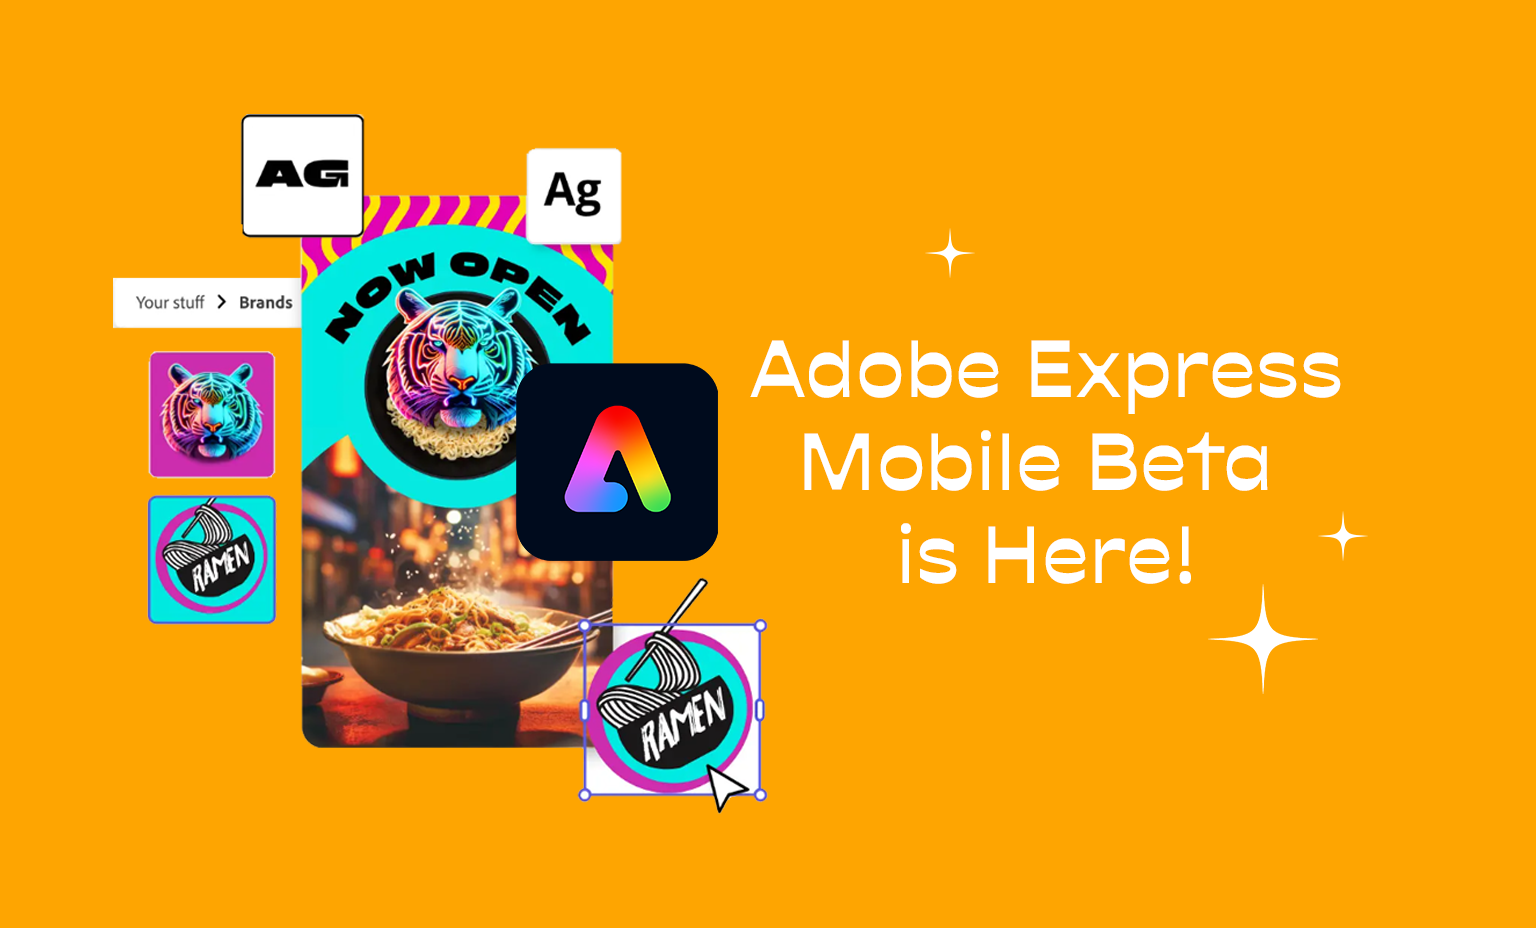
The Adobe Express Mobile Beta is Here! Hey Creative Friends! I wanted to share more details about the exciting news regarding Adobe Express Mobile Beta. This is going to revolutionize
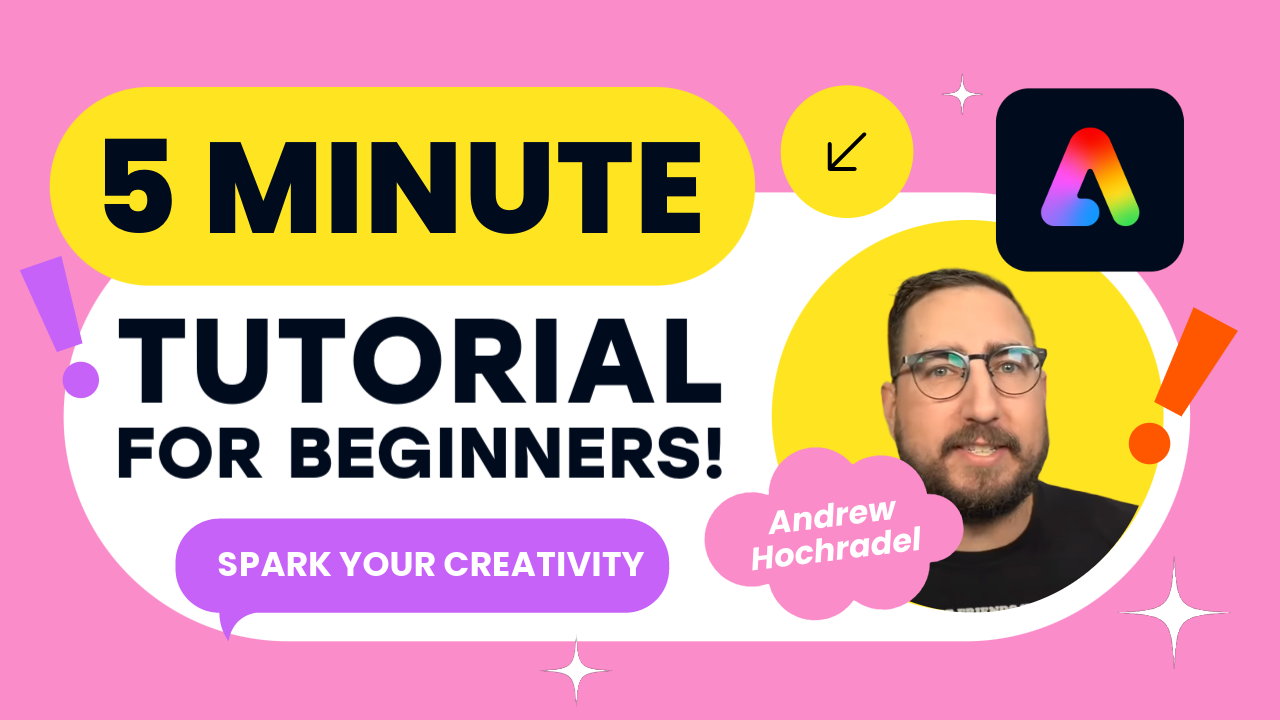
Unlock Your Creative Potential with Adobe Express – A Beginner’s Guide! Are you ready to dive into the world of digital design but don’t know where to start? Don’t worry