I am going to show you how I add texture to my lettering using Adobe Illustrator! So I know a lot of us are loving the Procreate App for the amazing textures it allows us to create for our lettering. But I want to show you how you can create that same “Procreate look” by using Adobe Illustrator. For this tutorial I will be using Illustrator brushes to add texture to my design. I am using the Gouache Shader brushes from Design Cuts and you can grab them here. Now let’s jump right in!
2. Vectorize your design in Illustrator
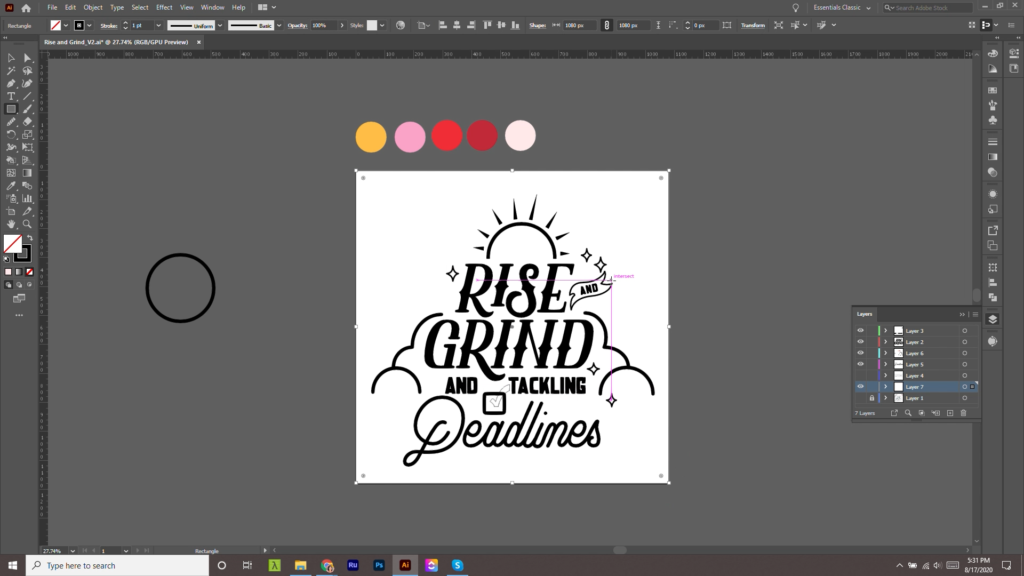
3. You can add a texture to a path by using the shader brushes.
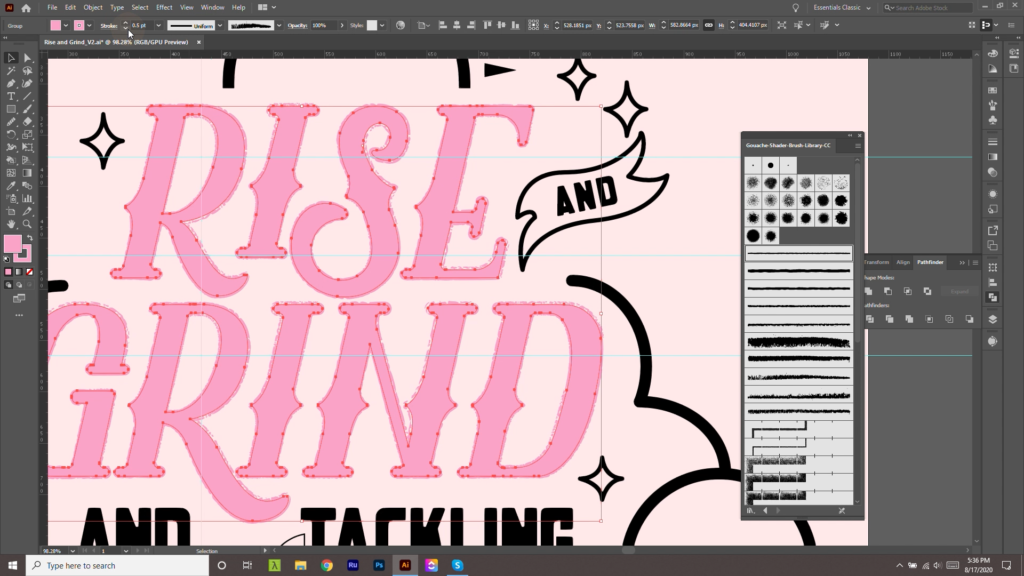
4. Use clipping masks to add texture inside a word or object. Select the word or object you want to add a texture to.
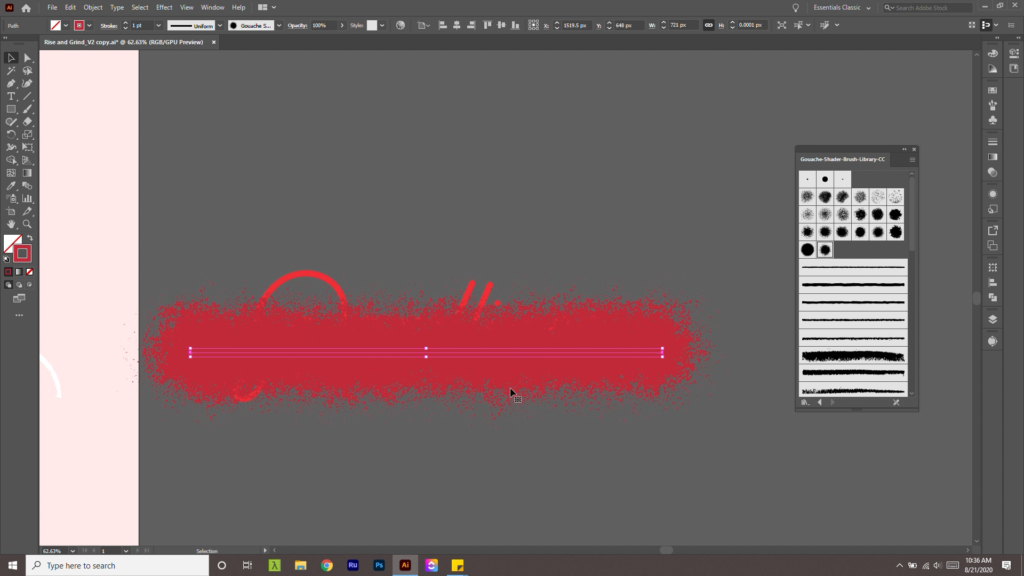
5. Select a brush from the Gouache Brushes and using the pen tool draw a line across your object or word.
6. Select the texture you just created and place it behind your word or object.
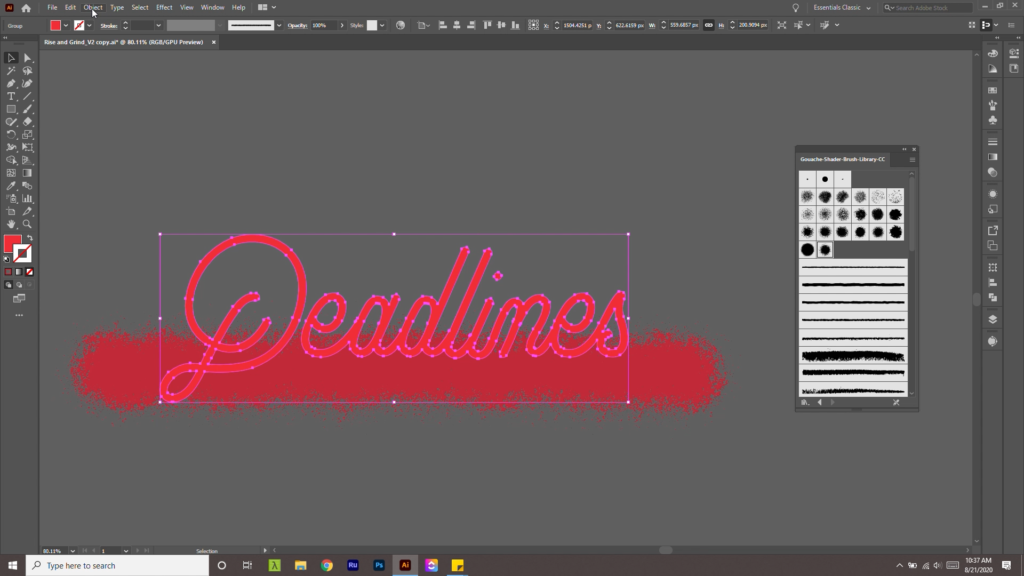
7. Select Deadlines and un-group the letters. Then tap on Object in the menu and click on Compound Path and Make.
You must use Compound Path’s to create clipping masks with multiple objects. For example, the word deadlines below consists of 3 objects: D, eadlines, and the top of the i. So in this case I made deadlines a compound path before creating a clipping mask.

8. Click CTRL + 7 to creating a clipping mask. Or you can click on Object in the menu and click on creating Clipping Mask and then Make.
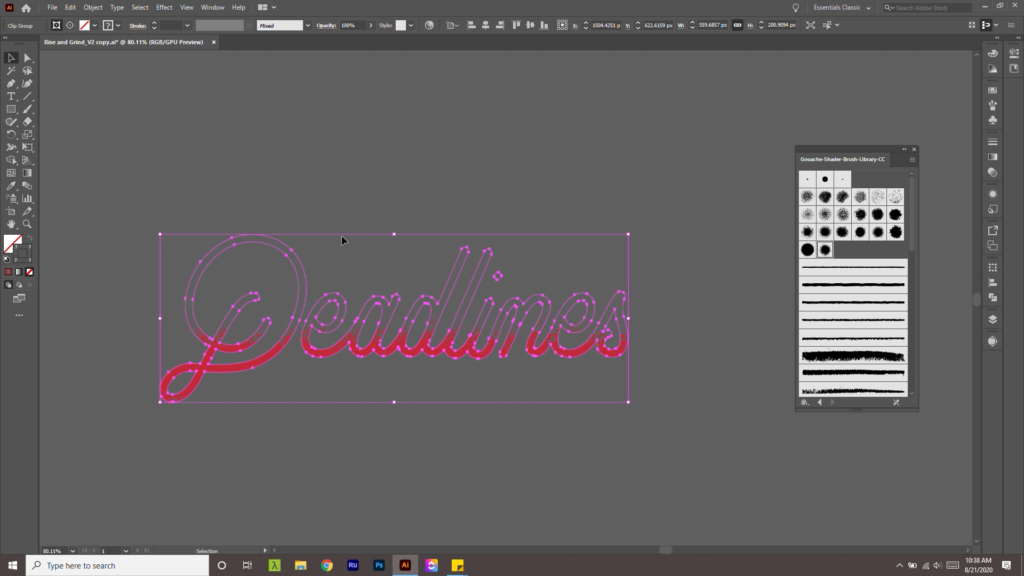
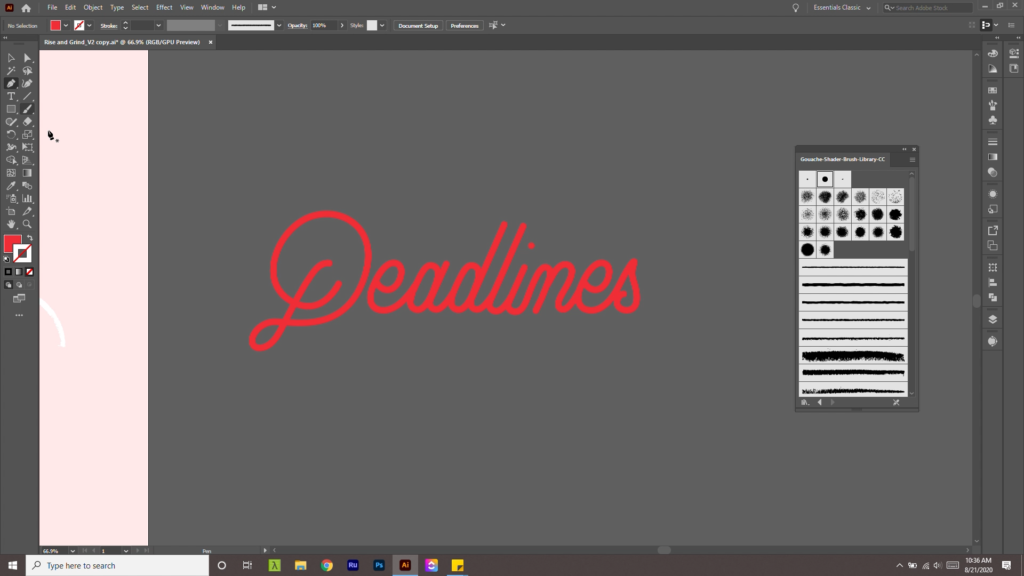
9. Double click on your word and fill in your word with a color. I double clicked Deadlines and with the eye dropper tool I chose a red from my color palette.
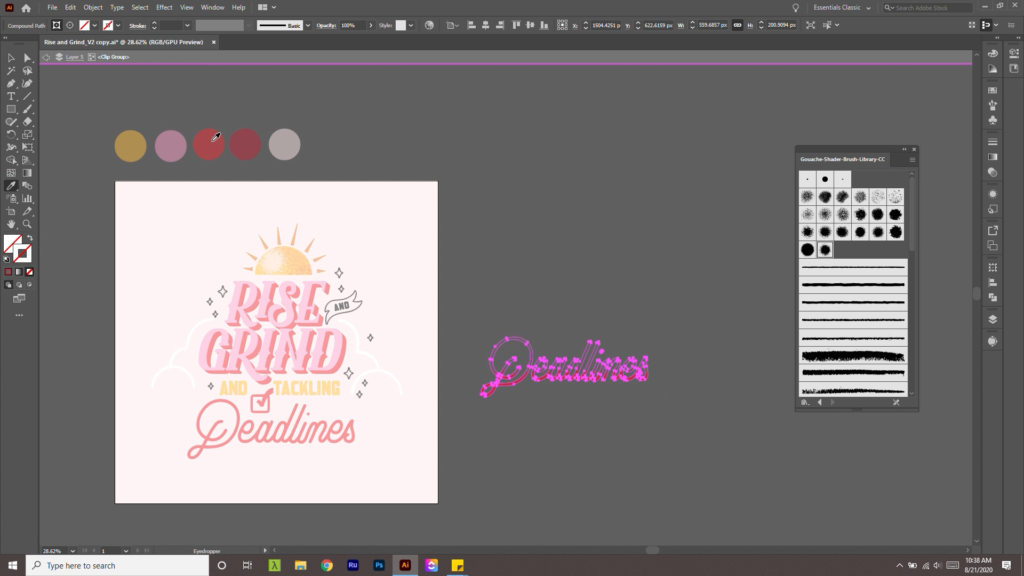
10. Now you have your background color and a nice texture on your lettering!
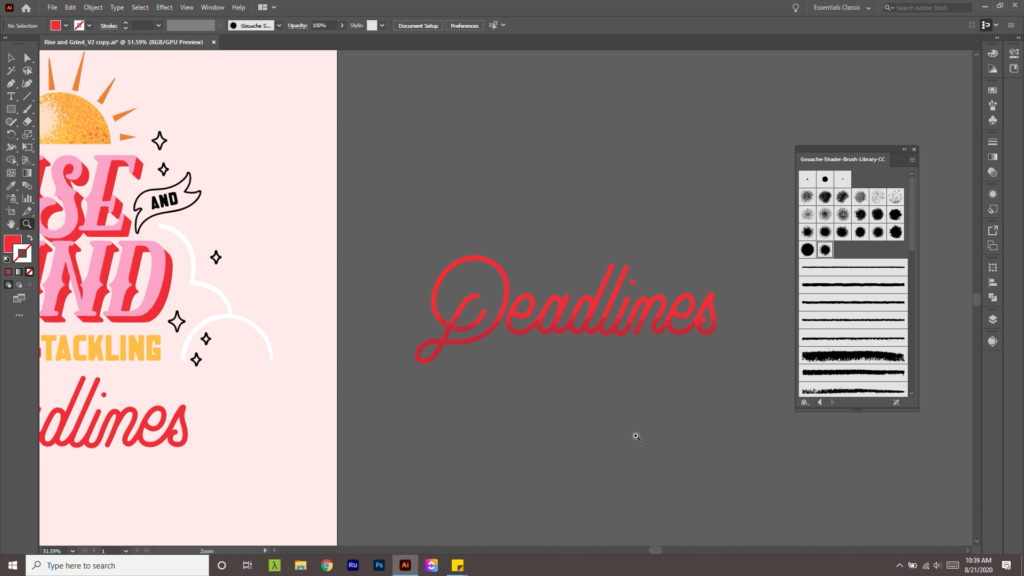
By using Clipping Masks you can add texture to your lettering super quickly in Adobe Illustrator. I went ahead and added texture to the rest of my design and this was the final piece below! If you want to watch the full YouTube tutorial you can watch it here.


