Pencil Lettering Tips!
So if you’re someone who likes to sketch on paper or letter on paper I have some pencil lettering tips for you! When it comes to artwork with the pencil we can come across issues like smudging and mistakes. I’ve been lettering on paper for a while now and here are my top tips and tricks you can implement into your process.
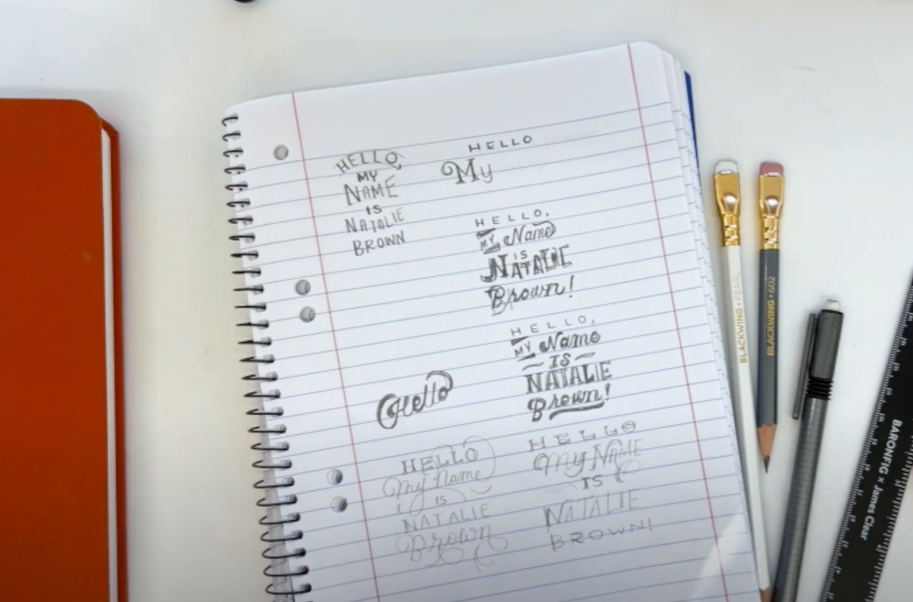
Tip #1: Start designs on scratch paper!
So before you jump into creating a final design on your perfectly good sketchbook I recommend sketching out your plans and design on scratch paper. Get all of the revisions and changes out of the way before you make it final. This will help you to avoid erasing and smudging!
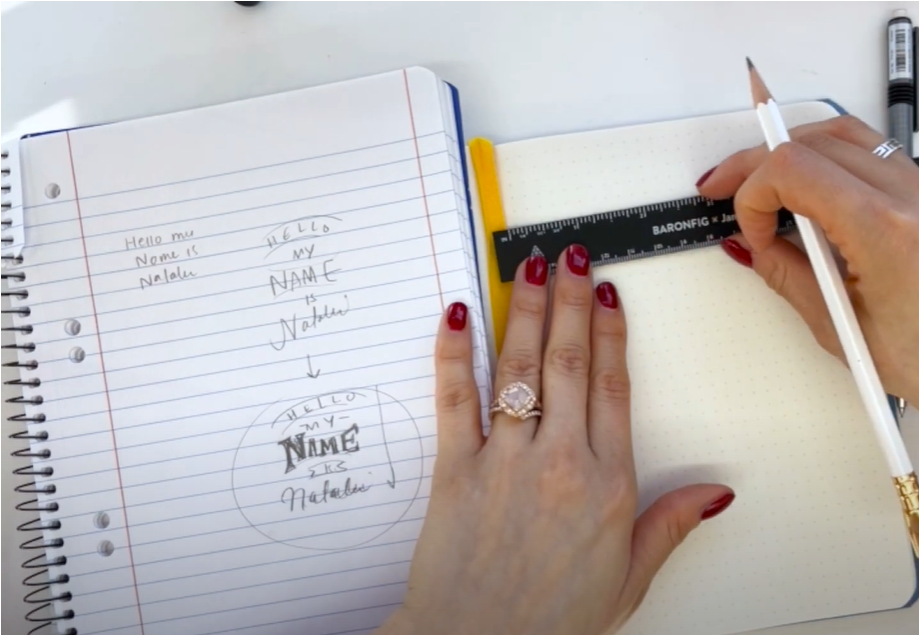
Tip #2: Use a Ruler!
I know I can get lazy sometimes and skip using a ruler. But let me emphasize that when you do use a ruler and set up some guides for yourself, your artwork will turn out 10x better. I promise you that! Also, when you do use a ruler draw your guides very very lightly.
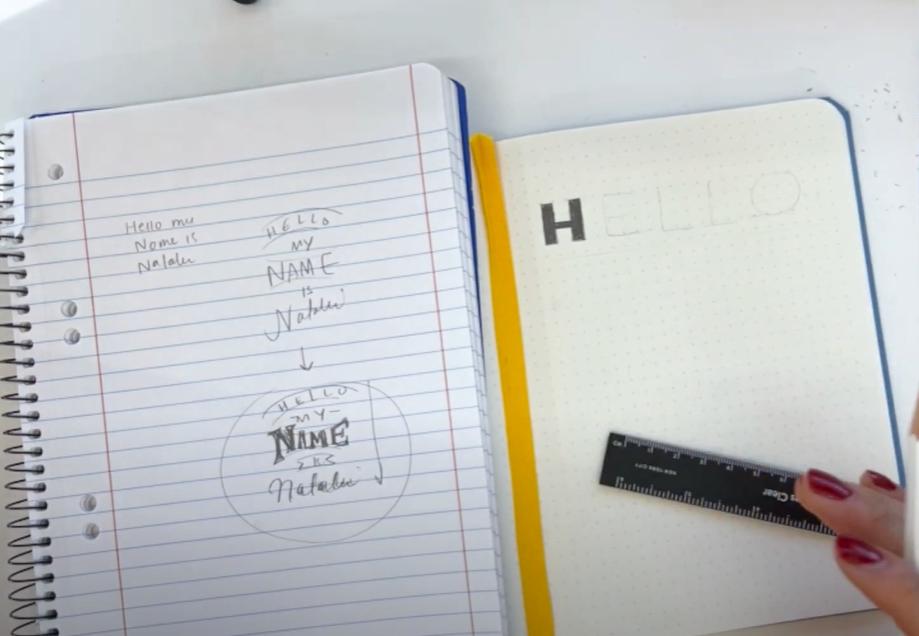
Tip #3: Work top to bottom
I often see artists create their entire sketch for a design on paper before applying any final touches or darkening the graphite on the page. The problem with drawing your entire design first is that you risk smudging the page with your hands. I recommend starting your artwork from top to bottom. So start on the top and finalize the top. Then move on to the next section and sketch and finalize. And continue until you’re done at the very bottom. When you do it this way you can avoid smudging your page!
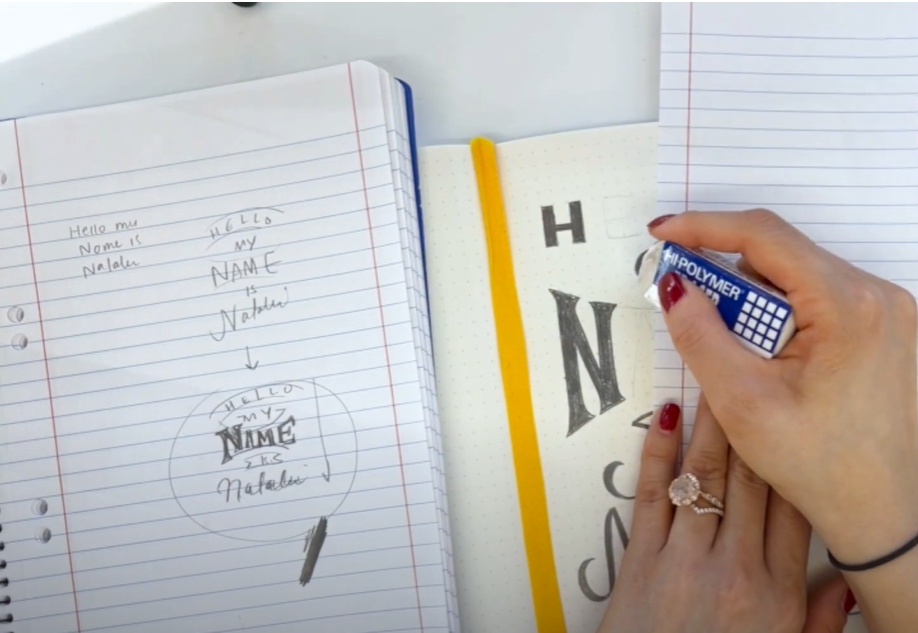
Tip #4: Use a Paper Guard
When it comes to pencil art there’s really no way you can avoid erasing. But there is a way we can do so carefully without messing up our work. I recommend placing a sheet of paper between you and the artwork to make any adjustments or erase any parts of your artwork. That will help you to prevent smudging and help you to focus in on an area you want to fix.
Tip #5: Use a paintbrush to brush away eraser bits
When we do erase a part of our artwork there’s bound to be pieces of eraser bits on our page. So how do we brush these off without smudging our artwork? I usually will blow them off or I like to use a regular paintbrush. Doesn’t have to be anything fancy but a paintbrush is a great way to brush away eraser bits and avoid smudging your page! 🙌
If you enjoyed these tips you can actually re-watch my YouTube live session where I went over these tips and my process with the Threeologie community. You can check it out below: